Saturday, January 29, 2022

Debugging the Information Display

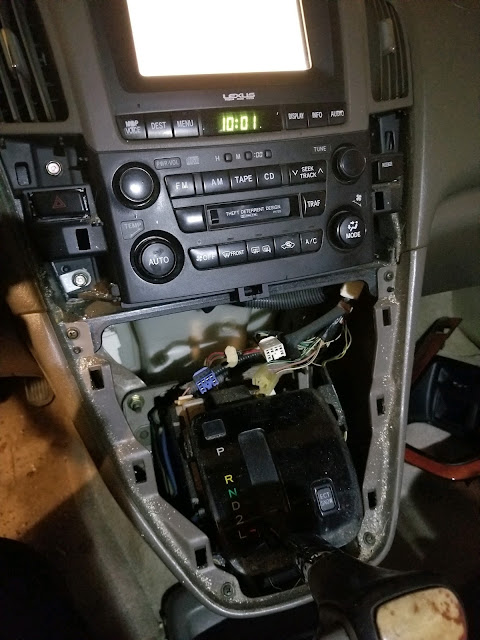
 Going into this I was convinced that the backlight for the display was failing, causing the display to flash.  So, yesterday I disassembled the display, and removed the screen, and backlight portion of the display module.  The high voltage section of the backlight driver has a copper shield over it that I had to remove to get to the pulse transformers that generate the high voltage for the florescent tube backlight.  Once the shield was removed I was able inspect the electronics for the backlight driver, and to reflow the solder on all the major components there.  I didn't find any evidence of a breakdown in that area, so I re-assembled the display, and then re-installed it in the RX to test it.

While I was testing the display the backlight seemed to be on continuously, and now it looked like the data was causing the blanking effect that I had mistaken for the backlight failing.  When the RX is cold I only get information for a little while.  The data is displayed, and then the data seems to stop, the screen goes black, and then the data comes back.  This continues until I loose data altogether, and then the screen is blank, except for the backlight, which remains lit.  The nature of this failure, being intermittent, and dependent on temperature, makes me think that it is an intermittent in the connections between the computer, and the display.  So, the next course of action is to open all the connections from the display to the computer, inspect them, clean them, then re-assemble everything, and test it again.

We must dig deeper...  Imma go to Altex, and get some contact cleaner.  I also use isopropanol as a cleaning agent for contacts.  A pencil eraser will also do a good job on contacts if they are large enough to put a pencil eraser on them.  The connections I am dealing with now are small pitch surface mounted connectors, and flex cables, so we will have to use a chemical cleaner this time.


Sunday, January 23, 2022

Information Breakdown...

 My Rx, Monster Truk, has an information breakdown...  It's an electronic component thing.  Electronics work best when they have a solid state condition, and are completely isolated from mechanical movement.  Well, some electronic components are mechanical constructions, and are still vulnerable to motion, and will breakdown with vibration.  Anything that is mechanical, and moves, will breakdown faster than solid state components.  In this case I think it is capacitors.

OK, lets extract the component that is in question, open it up, and look for some signs that we have failing components.  First we have to get the component out of the assembly in which it lives.  My RX is a Toyota product, so we have to deal with the interior constructions of a Toyota product.  First we need to pull some trim pieces out of the way...

The first piece you to get out of the way is the faux burl wood trim piece.  Looks neat, and does nothing...  It is secured with plastic clips around the perimeter.  Use a plastic trim pry tool to gently remove this trim piece.  I used my Mini Bar to get it started, and very gently indeed...

I am surprised at the amount of debris that is behind the things that I am removing.  So, there were a few electrical connectors I had to remove from the trim piece.  Next we can remove the four, ten millimeter screws that retain the radio, and the the upper part of the center console can be removed.  There are a considerable amount of electrical connections on the back side of the upper part of the center console, but they are all unique, and only go back into a singular location.  This make it much easier to reassemble.

OK, now, carefully, we pull off each connector, being very careful to not damage it, in order to liberater the center console facia from the vehicle.  Each connector has a latching tab that must be depressed in order to disconnect it from its mating connector.  When all the mating connectors are detached, then you can pull the Center Console Facia away from the body of the vehicle.

Now we can start to disassembly the upper center console, and isolate the display so that we can diagnose the breakdown.  Toyotas are very modular, and they have dedicated divisions that work on these individual parts.  Every sub-system in a Toyota has a dedicated subdivision of people working on that system.  In this case I have a multimedia display, with a touchscreen which has a fundamental breakdown.  The display, and touchscreen are contained in a module, with a part number, and you can go find them on the interwebz,,,

Here is a shot of the liberated Display Module.  You can search on the Interwebs to find this specific part number, and haz yourself a new display.  I'm gonna say that I am a little more adventurous, and I am going to troubleshoot this module down to failing components rather than just replace it. I might save a couple bucks, but, ultimately it is the knowledge of circuit failures is what I am after...


Saturday, January 8, 2022

Mechanical Pron

More Mechanical Pron... This is 4U-GSE (Toyota), and the FA20D (Subaru), 2.0 Liter, horizontally opposed four cylinder engine. It has chain driven dual overhead cams, direct fuel injection, and port fuel injection. It is a small displacement engine, but it is about as hot as you can make a normally aspirated engine which gives it an aggressive, sporty demeanor. It's horsepower rating is 205 HP at 7000 RPM, and that is a little more than 100 horsepower per liter of engine displacement. The main reason a normally aspirated engine can produce that level of horsepower is high compression, in this case 12.5 to 1. The Bang Boxes in this one are very efficient. Altogether what I am saying is... Lots of fun, especially when you are kicking the tail out...