Usually I am playing with Fence Posts. This Post is a little different. I cobbled together parts to assemble a microscope. I have a nice Leica Microscope Head, an Illuminator, and a Swing Arm to hold the Microscope. But, what I didn't have is the Base, and Post to hold the Swing Arm. The Microscope is fairly difficult to use if it is not supported. Salvage time...
So I found a one inch diameter post that has a two inch diameter aluminum mount. There are four M6 screws that hold the post mount to the plate. Then I also found a nice base plate which is one inch thick aluminum, but it doesn't have holes for the post mount. Off to the machine shop...
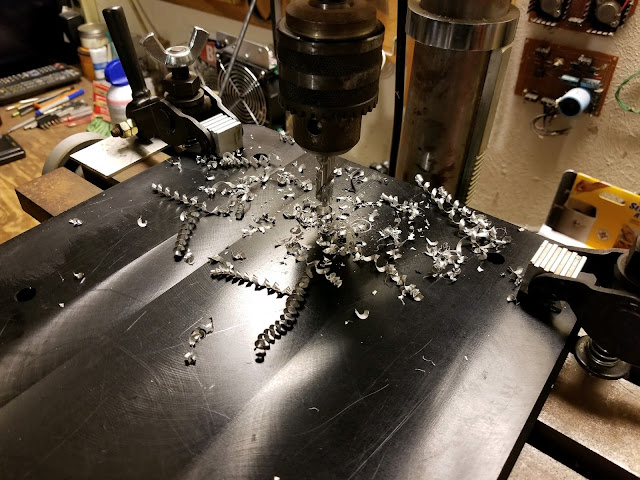
This piece is kinda big for my Mini Mill. I was able to clamp it to the table with no problem. The trouble was with the Z Axis. My regular drill bits were too long to get the aluminum piece under the bit. I had to get some Screw Machine Length" Drill Bits. The regular hardware stores were no help with this. I got, "Huh? Wuts that?" Even at Ace...I did find what I was looking for at
CDC Surplus, which is The Machinist's Candy Store over in Richardson. Screw Machine Length Drill Bits are shorter, like Mills, and harder that regular drill bits. They also made this job possible on the Mini Mill.
So I had to make a clearance through hole so the M6 screws could go all the way through the plate. Then I had to make some really deep countersinks. I wanted to use the hardware that came with the Post, and not chase down additional hardware. This means that I had to make the countersink 0.7 inches deep. I wanted the hardware to be recessed because the screw heads are on the bottom of the plate, but had to make them extra deep because the M6 screws were only around half an inch long.
So, this worked, and I was able to get all the screws in the first time, which is a big deal. Measuring the part, marking the part, and getting the holes started in the right location are critical to get big pieces, and big cuts to work right the first time. The through hole cuts were 17/64" through an inch of aluminum. Then the countersink cuts were 7/16" through 0.7 inches of aluminum. All four screws went in, the first time... Score!


